Scheduler
ProtoPixel Create have an internal scheduler that will help you to execute a project or multiple projects in a specific dates and times. This feature is designed to allow you to program several projects in the future, such as recurrent hours of start-end of a lighting installation.
How it works
A series of Events are created in the scheduler calendar. These events will refer to Tracks that will describe how Projects are executed through the day. Let’s see these concepts in more detail:
Project
For the scheduler, Projects are ProtoPixel Create project files that you have previously _exported_, and placed inside ~/Documents/ProtoPixel/Projects/.
Important
The ProtoPixel Create Projects in the project folder _must_ be created by the steps explained in Exporting your Project, so the project has all of the contents and fixtures.
Track
Tracks are schedules of one or several Projects through the day. Each project in a track has a starting time and an ending time.
Event
Events is the execution of a Track on a date, or several dates. In general an Event only has 3 pieces of information:
- Track
- Starting date (YYYY/MM/DD)
- Ending date (YYYY/MM/DD)
Opening the Scheduler window
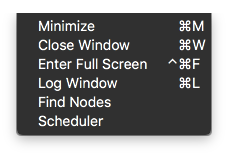
To open the scheduler window, click on the Window menu in your OS X toolbar, then click on Scheduler.
Activating Scheduler
In the settings panel, enable the scheduler by toggling on the option.
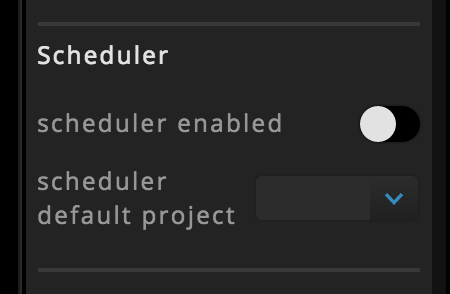
When this property is enabled the programmed schedule will start and the content will appear in the Create window.
Be aware that when the scheduler functionality is enabled, ProtoPixel Create becomes the visualizer of the scheduler so if you try to create or modify another project it will be replaced by the current event.
Another option that you can see in the settings panel is the scheduler default project. This will be the project that will be active whenever there’s no other event scheduled.
Events
How to create my first event?
In order to create your first event you have to make sure:
- You have at least one project and this is inside
~/Documents/ProtoPixel/Projects/ - You have created a Track. If you haven’t, then check How to create a track?.
If you meet this requirements:
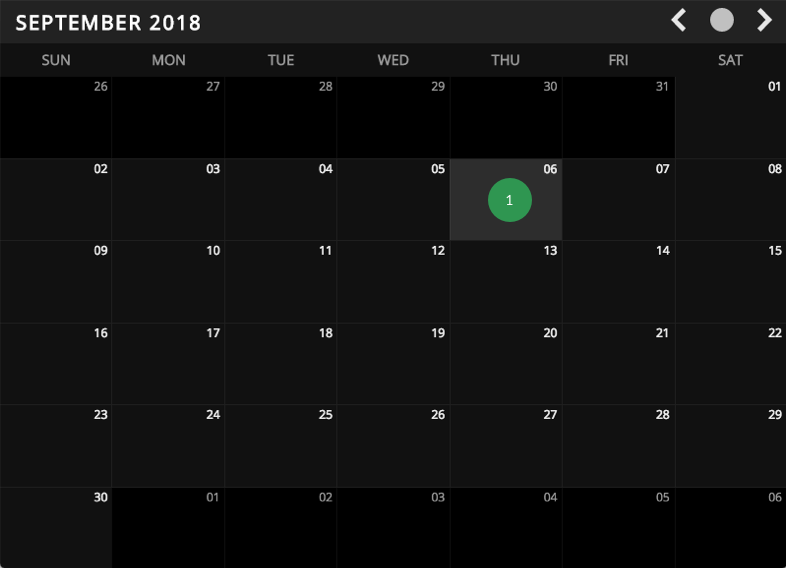
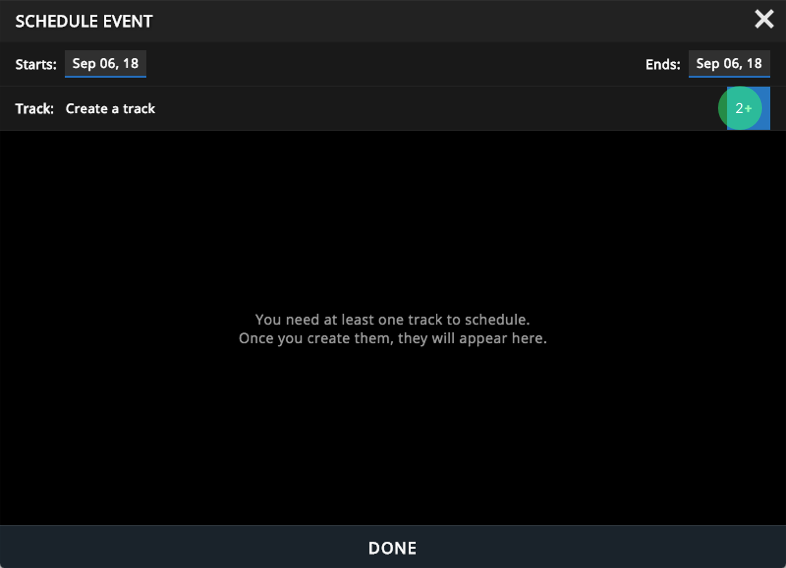
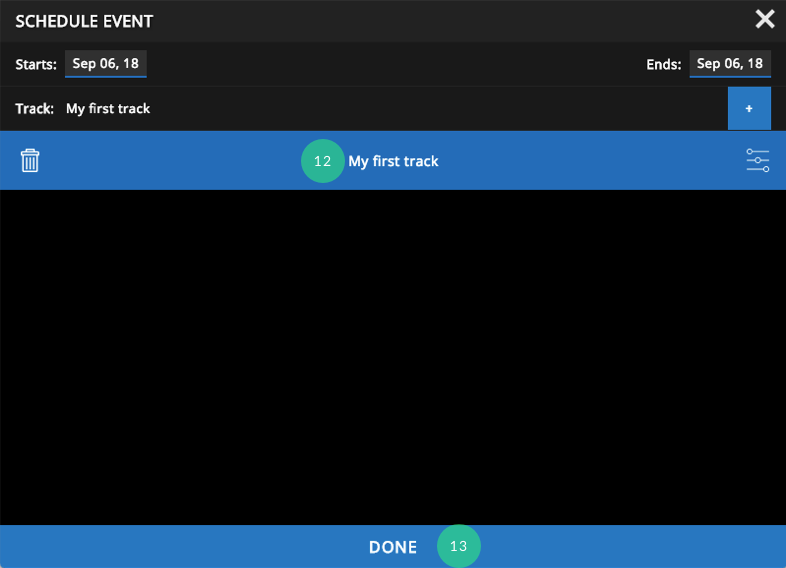
- Click or drag on any empty slot in the calendar. A window will appear showing you the SCHEDULE EVENT window.
- If you need you can change the starting and the ending dates.
- Select a previously created track from the list. If you haven’t, then check How to create a track?.
- Click DONE.
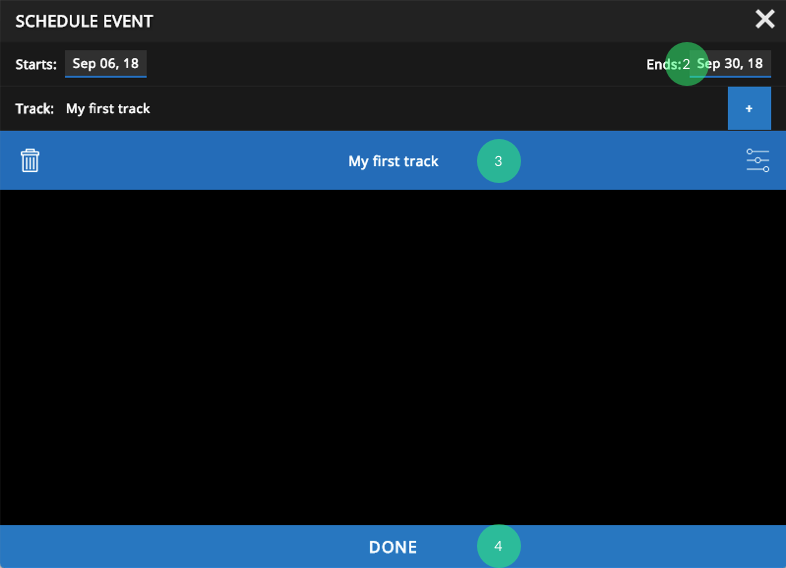
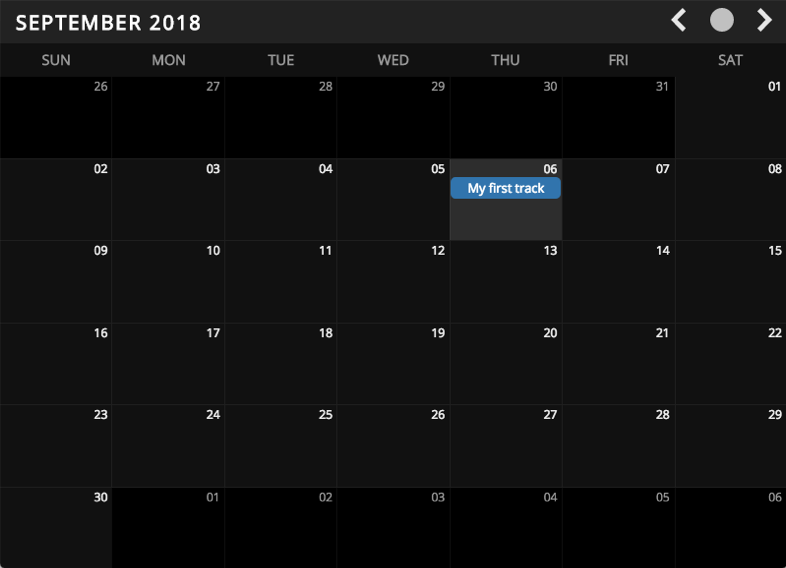
- You’ll now see your event on the dates you specified.

Handling multiple events
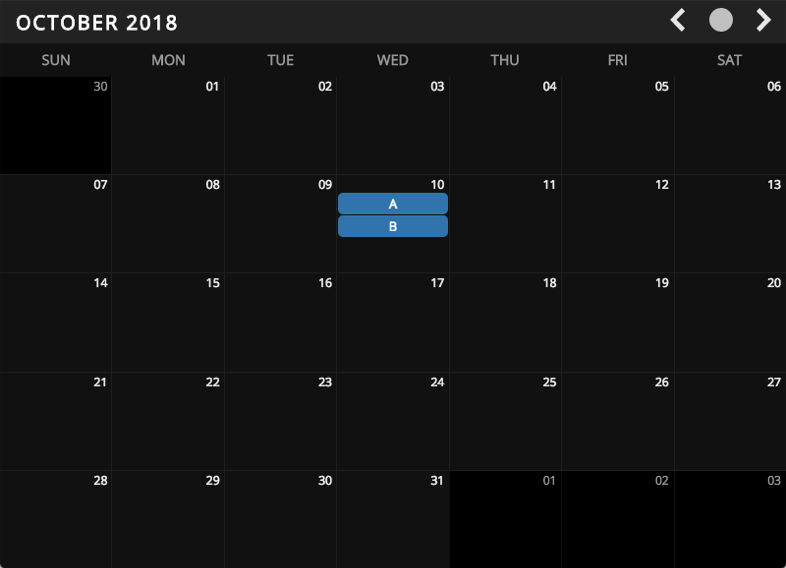
Event Combination
- When multiple events overlap tracks are combined. For example in the following situation:
- Track A
- Project One: From 20:00 today to 21:00 the same day.
- Track B
- Project Two: From 22:00 today to 23:00 the same day.
Both rules will execute. From 20:00 to 21:00 Project One will start and from 22:00 to 23:00 Project Two will take its place.
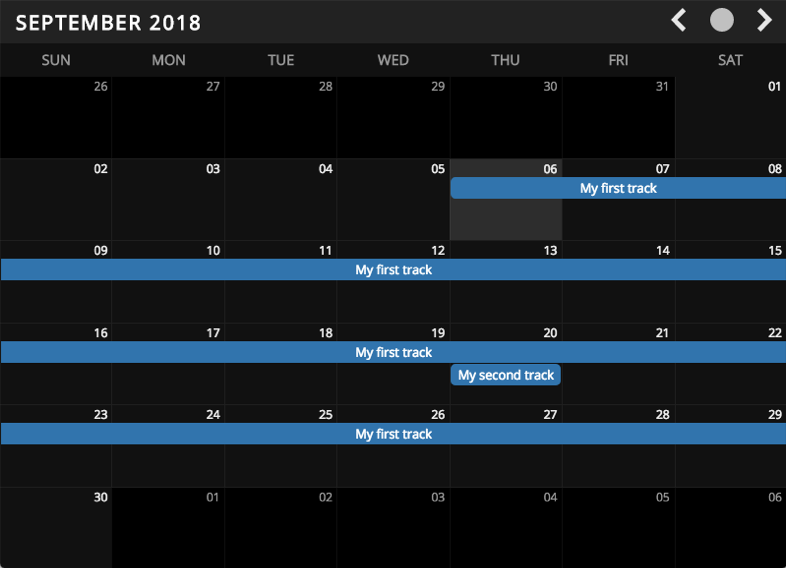
Day & Hour Overlap
- There is also the case when two events overlap both in day and hour. For example:
- My first track
- Project One: From 20:00 today to 02:00 the next day.
- My second track
- Project Two: From 22:00 today to 23:00 the same day.
In this example both events will be executed on the 20th of September, but “My second track” will have priority against “My first track” because “My second track” has a shorter length.
This means that from 22:00 to 23:00 Project Two will be visible.
It is important to see that in the calendar view the event that has priority will be on the bottom.
How to edit an event?
- Click on the event you wish to edit.
- You can change the track asociated to the event, aswell as when it starts or ends.
- Click on DONE to save your changes.
How to delete an event?
- Click the event you wish to delete.
- Click on REMOVE.
Tracks
How to create a track?
- Within the main calendar view. Click on an empty slot in the calendar or on an existing event.
- In the Track section click on the + button.
- Enter the name of your track
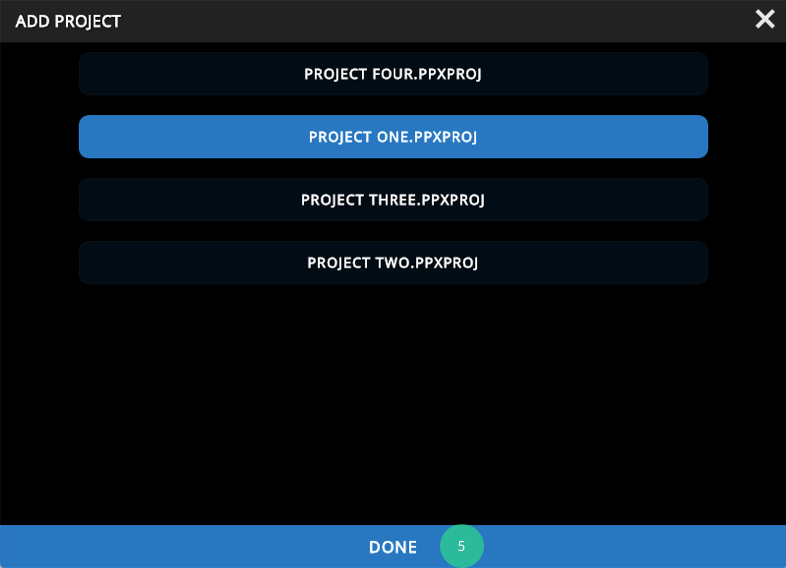
- Click on ADD PROJECT.
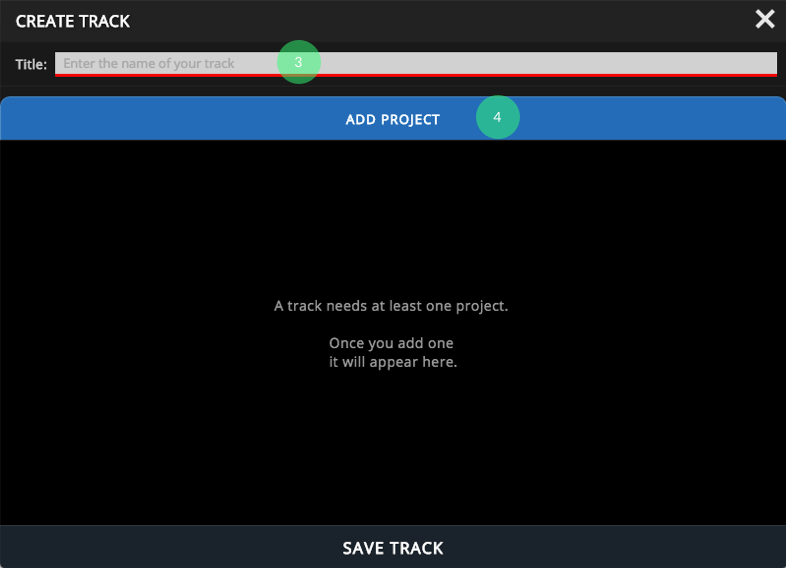
- A new window will appear showing the available projects. Select one from the list and click DONE.
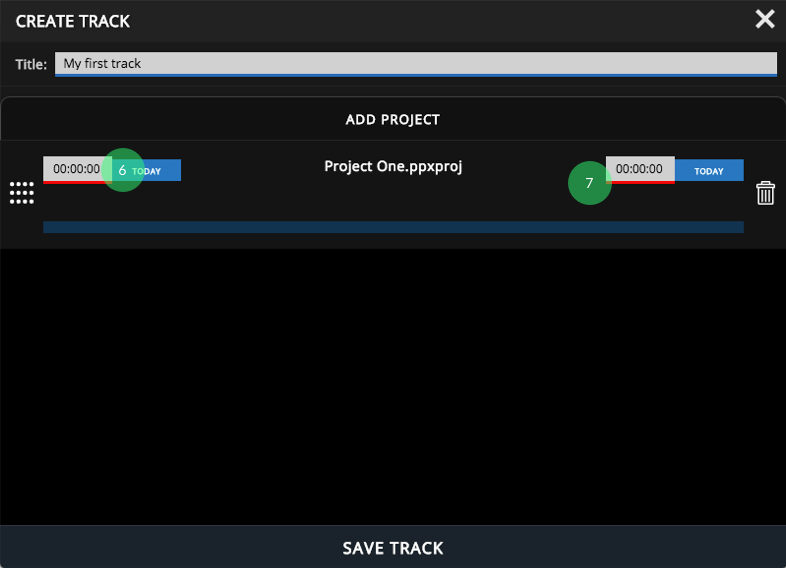
- Now set a start time and an end time. As you can see you can adjust if it starts today or tomorrow and if it ends today or tomorrow.
- As you can see inputs with a red border need to be filled in correctly in order to continue.
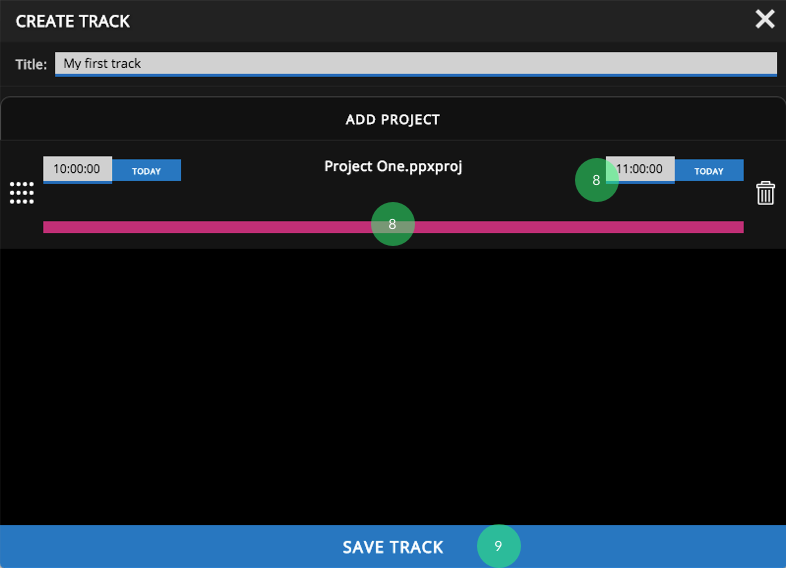
- When the times are correct you will see the bar turning pink and the time inputs turning blue.
- After all the inputs are filled correctly you’ll see the SAVE TRACK button changing it’s color to blue.
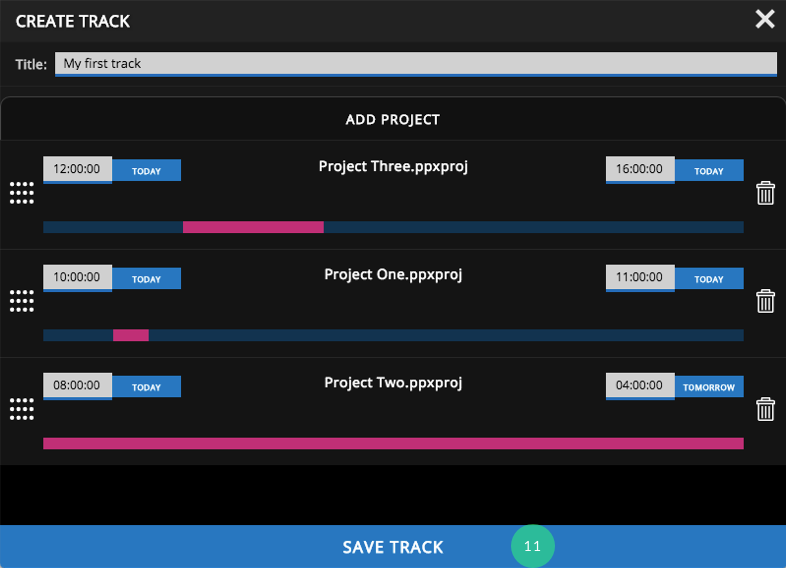
- You can add multiple projects as needed. The priority goes from top to bottom when they overlap.
- When you are ready save your track by clicking on SAVE TRACK.
- Now you’ll see it displayed and selected under the tracks list.
- Click on DONE.
- A new event has been scheduled as you can see in the calendar view.
How to edit a track?
- From the calendar window, click on any day slot in the calendar.
- Under the tracks list, click on the edit button next to the label of the track, this will open the EDIT TRACK window.

- Here you can change the name as well as the individual projects start and end dates or even add more projects to the tracks.
- It’s important to consider that when you edit a track all of the events that have that track related will have this changes applied.
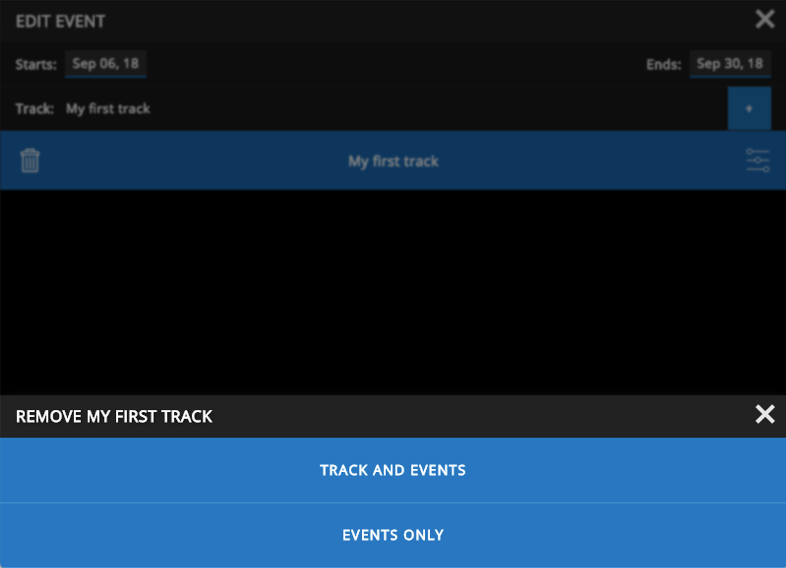
How to delete track?
- From the calendar window, click on any day slot in the calendar.
- Under the tracks list, click on the trash bin button.

- You’ll be prompted for two options:
- TRACK AND EVENTS : Removes the track and all of the events associated to it.
- EVENTS ONLY : Removes all of the events which are asociated to this track.
F.A.Q.
- Why does my content disappear when I try to modify or create a project?
- Make sure the Scheduler is disabled under the Settings menu.