Using ProtoPixel Create with DMX
To use DMX, you have to edit the properties of the fixture (imagine that you created a fixture type line, which are several light points in a row). In the inspector you will see the “PPx RGB Ordering” property.
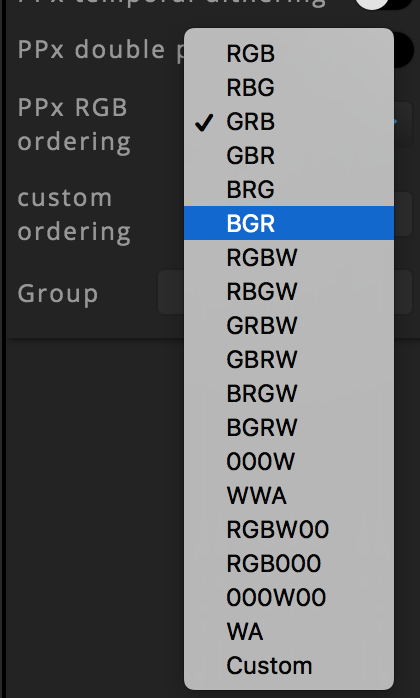
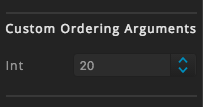
This ordering must reflect the DMX channel distribution. In case that the DMX fixture does not use a pre-defined layout, a custom layout can be created by selecting “Custom” in “PPx RGB Ordering”, and filling out the “custom ordering” section. For instance, if your fixture accepts 10 channels, the first one being intensity, next 3 being RGB color, and the rest being various effects that you want to leave to 0, the layout would result in:
Int,R,G,B,0,0,0,0,0,0
Possible values are:
| Letter | Meaning |
|---|---|
| R | Red |
| G | Green |
| B | Blue |
| C | Cyan |
| M | Magenta |
| Y | Yellow |
| W | White |
| <other> | Custom |
If you add a symbol that is not on this table, it will be created a parameter on the panel, so you can manually change its value.
The fixture DMX addresses will start with 1 and accumulate the number of channels in the layout: 1,11,21,31 …
Then you have to connect with the Art-Net device (with DMX output); first make sure it is connected to the network or directly wired to the computer.
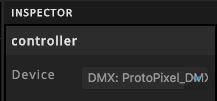
Add a Controller, and assign the fixture to outlet 1 (= universe 0). In the Controller, you should be able to select the Art-Net device from the menu.
In case that the Art-Net device is not detected, you can add manually one. Just follow the next section.
Manual Art-Net Configuration
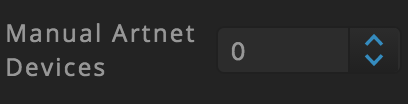
To manually add an Art-Net device, fist you have to check that you have manual Art-Net devices activated in the Global Settings.
Then, select the controller and assign to it the manual Art-Net device.
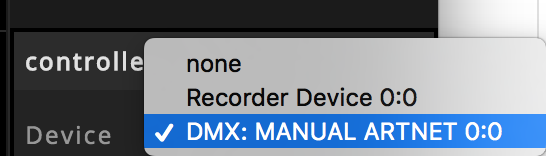
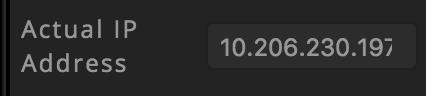
This device works exacly the same as the Art-Net detected devices, with the difference that you can manually specify the IP address.